
For me, the easiest and cheapest way to transform a room is with paint. Paint is amazing for creating subtle or dramatic highlights – it makes art pop and can draw attention to special features.
I always thought when using more than one color on the wall you needed to paint to a corner or defined angle before changing colors. A few years ago Jill (the ‘r’ in the j.a.r. collection) showed me otherwise and revolutionized my view of eggshell paint!

 | ||
| Create a "window" to add depth to a room |
 |
| Paint and custom art pieces from the j.a.r. collection help anchor the fireplace to the room |
 |
| Dramatic use of light and dark paints |
How to make a “frame”
Tools needed:
Level, pencil, ruler or yardstick (depending on the size of your “frame”), painter’s tape, clear paintable caulk, paintbrush or roller and paint
Step 1:
Determine where you want to paint your “frame.” Using a level, mark the wall making sure the marks are straight. Use a ruler and pencil to connect the dots, once again, making sure the line is straight.
Step 2:
Carefully tape the line. Be sure to put the tape on the outside of the line, so when you paint you are painting over your pencil marks. It is a total bummer to ignore this step because then you can see your pencil line after you are finished. First hand experience...
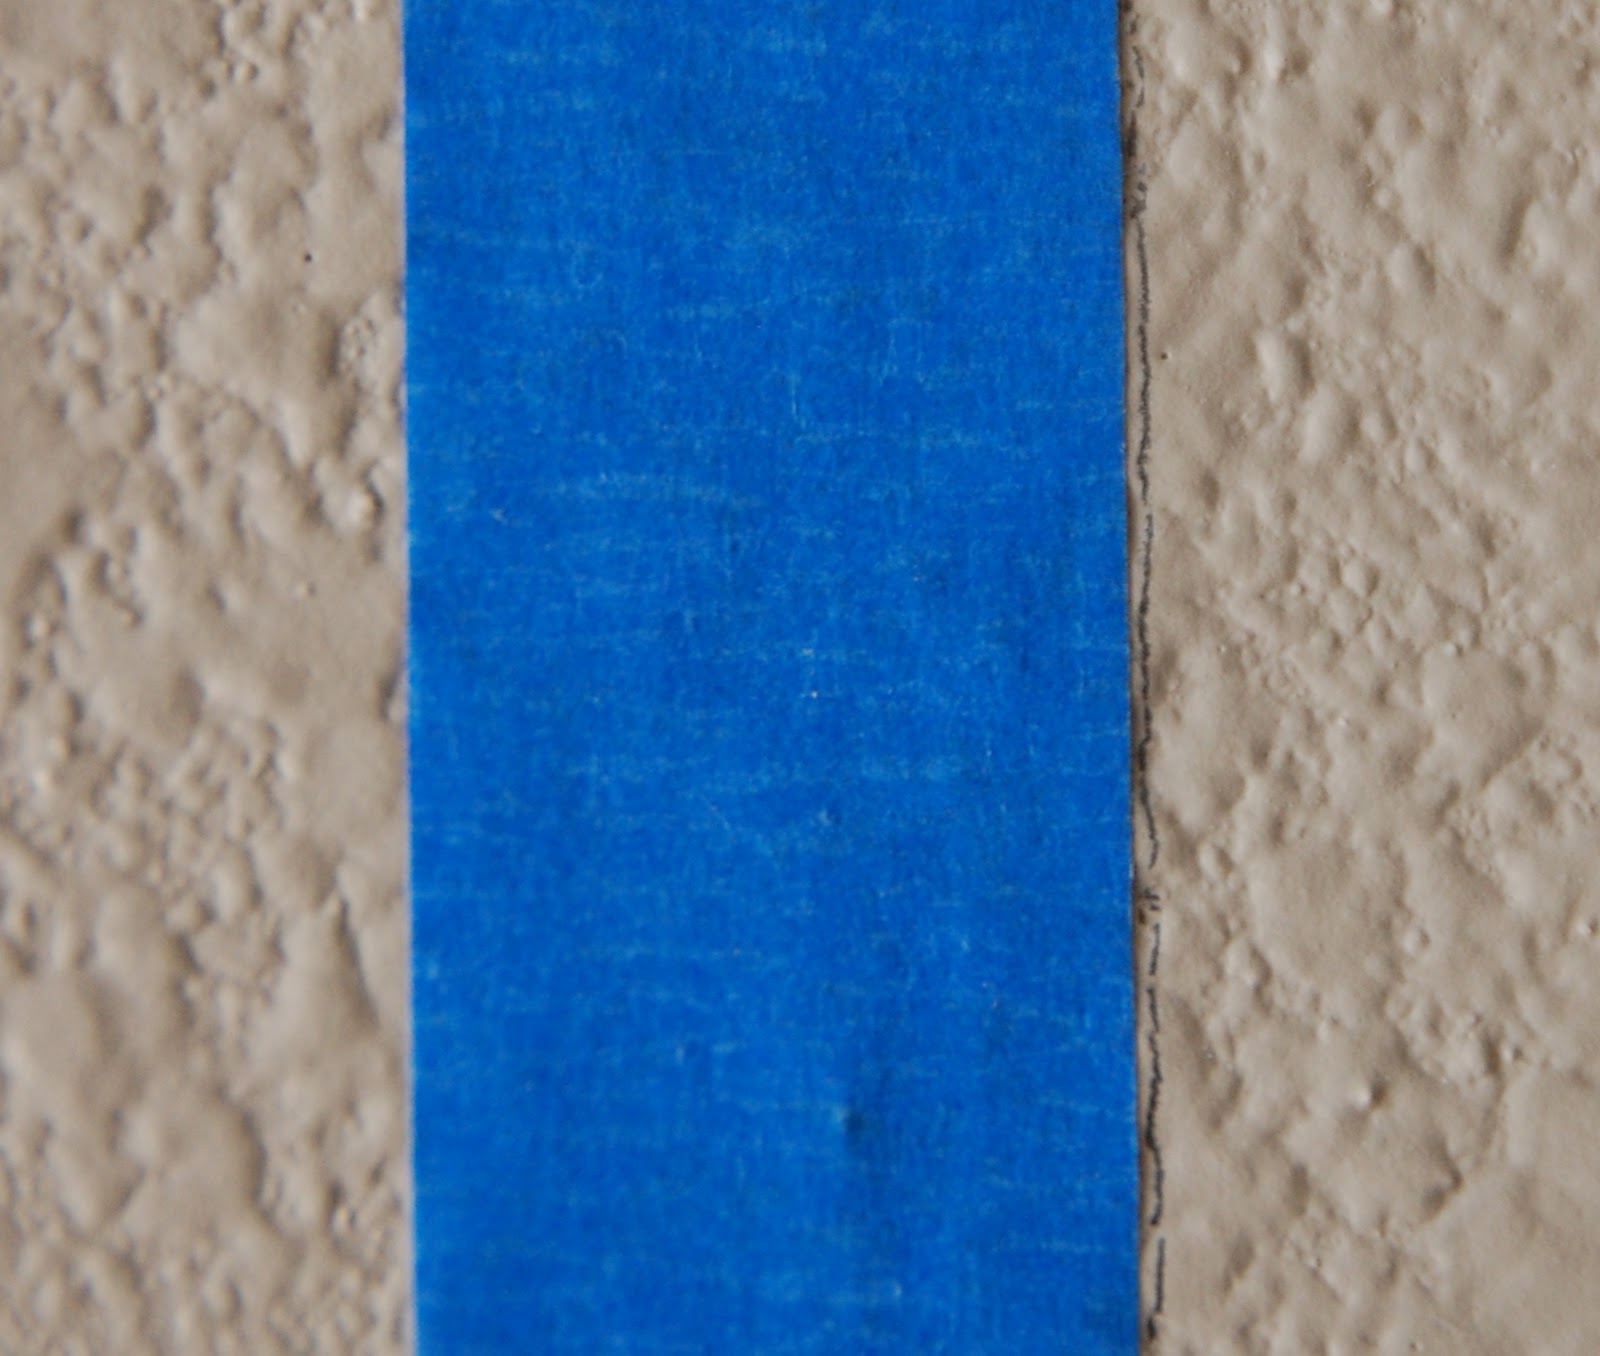 |
| Tape to the outside of the pencil line. In this example, paint would be applied to the right side of the tape so as to paint over the pencil mark. |
Step 3:
Use painter’s acrylic latex caulk to seal the side of the tape that will be against the area you want to paint. Make a thin bead of caulk and use your finger to smear it over the tape and wall, making sure the seam between the tape and area you are going to paint is completely sealed. Since the caulk is paintable, it does not matter if it is in the “frame.”
 |
| Make a thin line of caulk and use your finger to smear it over the seam. You can use any latex caulk as long as it is CLEAR and PAINTABLE, such as the one pictured above. |
Step 4:
Paint the “frame.” It is okay to get some on the tape, as the seam is sealed. Before the paint dries carefully pull the tape off, pulling at a slight angle.
And there you have it. An afternoon project that transforms a room and breaths new life into art and walls.
And there you have it. An afternoon project that transforms a room and breaths new life into art and walls.
No comments:
Post a Comment